- Start the next iteration
- Update the DG with design details IMPORTANT
- Smoke-test CATcher IMPORTANT
- Ensure the code is RepoSense-compatible
Intro to tP Week 10

Things to note:
- Set moderate targets for functionality. Adding more functionality than needed will not earn you more marks but can expose you to higher risk of bugs.
Focus on improving the process and the quality instead. - Move in small steps, and keep the product working at each step. If it breaks, you will only have to examine the latest change for the cause of the breakage.
This iteration is normally done in two weeks, but is spread over three weeks due to clashes with holidays. So, do the amount of work you would normally do if this was only two weeks long (i.e., no need to do more work because there is an extra week for this iteration).
The tP progress dashboard will stay in Week 11 for an extra week (i.e., even when we are in Week 12), to reflect that you can use Week 12 to do Week 11 tP tasks i.e., pending Week 11 tasks will not turn red until end of week 12.
1 Start the next iteration
As you did in the previous iteration,
- Plan the next iteration (steps are given below as a reminder):
- Decide which enhancements will be added to the product in this iteration, assuming this is the last iteration.
- If possible, split that into two incremental versions
v2.0andv2.0b. - Divide the work among team members.
- Reflect the above plan in the issue tracker.
- Start implementing the features as per the plan made above.
- Track the progress using GitHub issue tracker, milestones, labels, etc.
In addition,
- Maintain the defensiveness of the code: Remember to use assertions, exceptions, and logging in your code, as well as other defensive programming measures when appropriate.
Remember to enable assertions in your IDEA run configurations and in the gradle file. - Recommend: Each PR should also update the relevant parts of documentation and tests. That way, your documentation/testing work will not pile up towards the end.
2 Update the DG with design details IMPORTANT
Do this before next week Wednesday (Wed, Apr 2nd ) so that the added sequence diagrams can get peer feedback via the DG peer review that will happen during this week's tutorial. Diagrams you add before the deadline will receive feedback while diagrams added later will not.
- Update the Developer Guide as follows:
- Each member should describe the implementation of at least one enhancement she has added (or planning to add).
Expected length: 1+ page per person - Describing the design at a multiple-levels (e.g., first, describe at architecture-level, then describe at component-level) is optional. It is also acceptable to have one Design & Implementation section in which you describe the entire thing at the class- and object-level.
- The description can contain things such as,
- How the feature is implemented (or is going to be implemented).
- Why it is implemented that way.
- Alternatives considered.
- Minimally, add sequence diagrams to enhance your DG wherever they can be useful.
- Each member should describe the implementation of at least one enhancement she has added (or planning to add).
3 Smoke-test CATcher IMPORTANT
- This activity is compulsory and counts for
3participation points. Please do it before the weekly deadline.
Some background: As you know, our includes peer-testing tP products under exam conditions. In the past, we used GitHub as the platform for that -- which was not optimal (e.g., it was hard to ensure the compulsory labels have been applied). As a remedy, some ex-students have been developing an app called that we'll be using for the PE this semester. We still use GitHub to record bugs reported in the PE but CATcher acts as a layer between you and GitHub, to ensure the bugs you report meet PE requirements.
This week, we would like you to smoke-test the CATcher app to ensure it can work with your OS, Browser, GitHub account, by following the steps given in the panel below.
4 Ensure the code is RepoSense-compatible
Ensure your code is and the code it attributes to you is indeed the code written by you, as explained below:
- Go to the tp Code Dashboard. Click on the
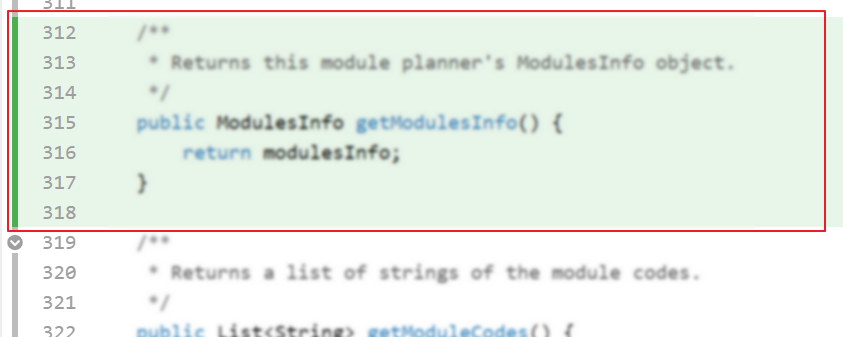
</>icon against your name and verify that the lines attributed to you (i.e., lines marked as green) reflects your code contribution correctly. This is important because some aspects of your project grade (e.g., code quality) will be graded based on those lines.

- More info on how to make the code RepoSense compatible:
- Go to the tp Code Dashboard. Click on the